Breaking Down the Process: AI-Driven Action Sequence
This project started with a simple idea: create a cinematic, grounded action sequence—set in real-world Chicago—featuring a fully AI-generated version of myself, a custom-designed mech suit, and a large-scale creature.
What made it interesting wasn’t just generating shots—it was building a pipeline that allowed for consistency across characters, environments, and motion.
Character Creation
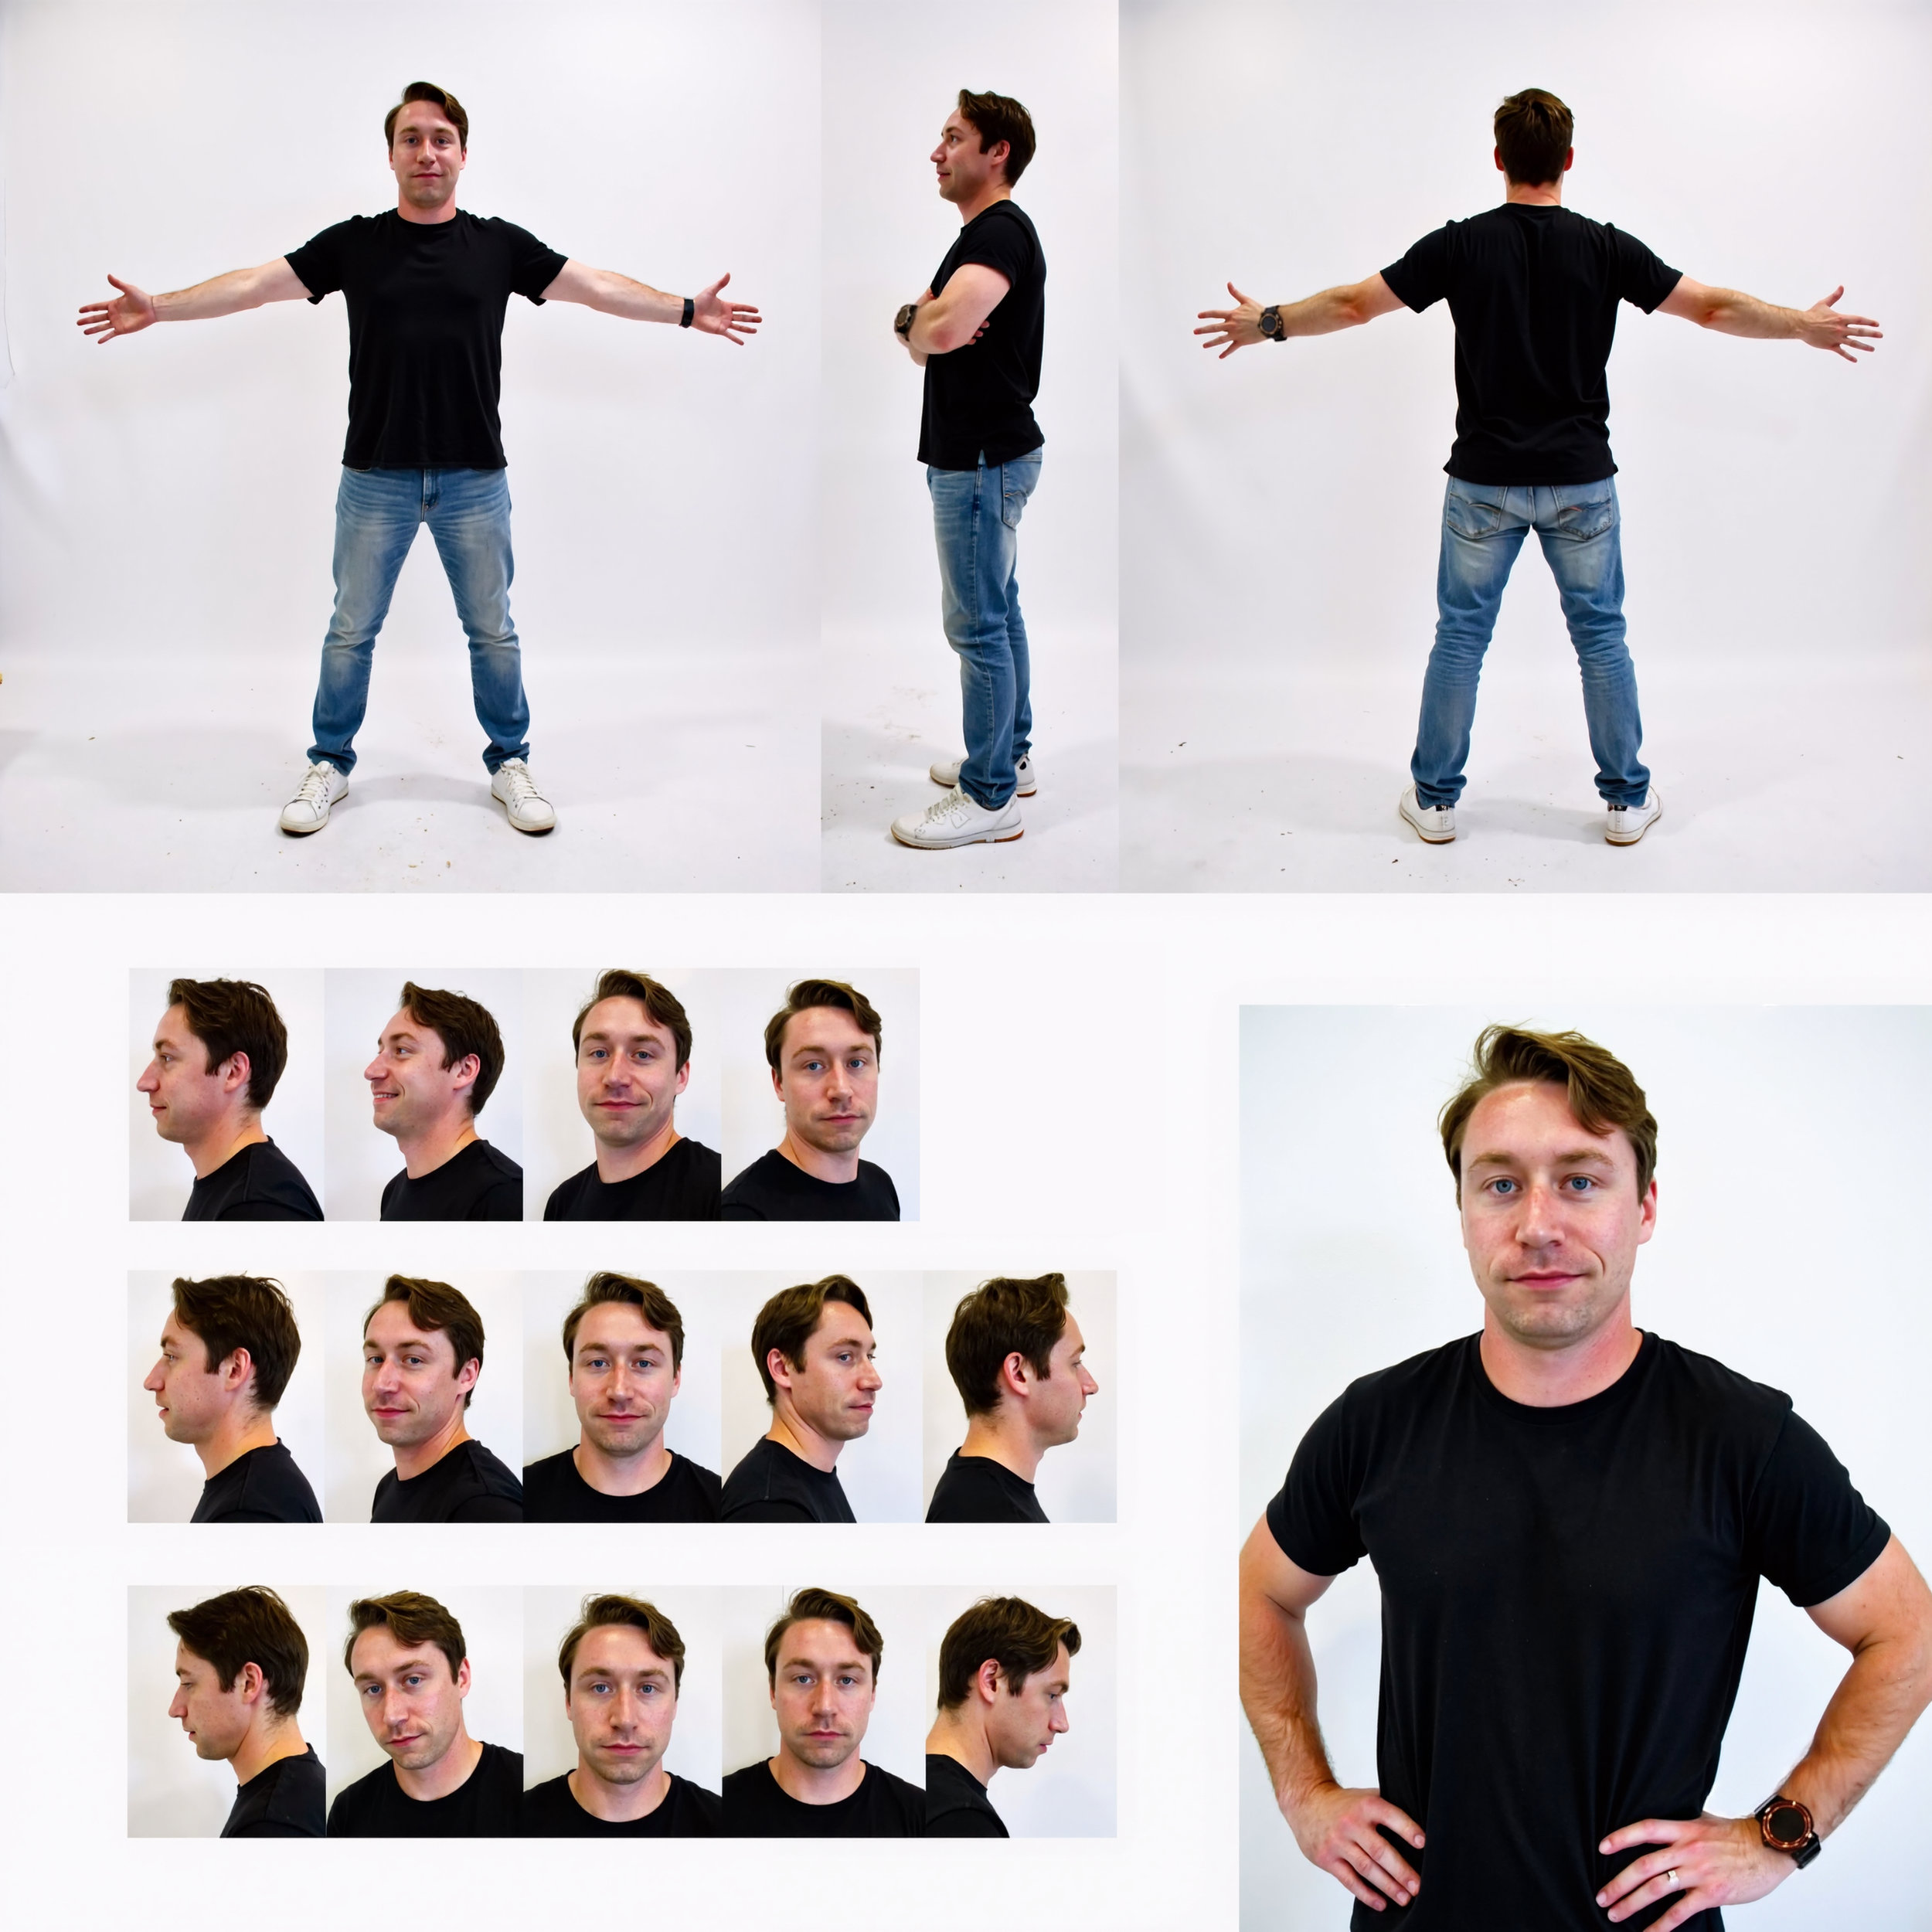
1. Digital Double (Myself)
To create a consistent version of myself across shots, I trained a FLUX LoRa on a curated dataset of my face and body.
Using a custom ComfyUI setup, I generated controlled outputs:
Full body (multiple angles)
Head turnarounds
Expression variations
This gave me a reliable “actor” that could be dropped into any shot while maintaining identity and proportions.
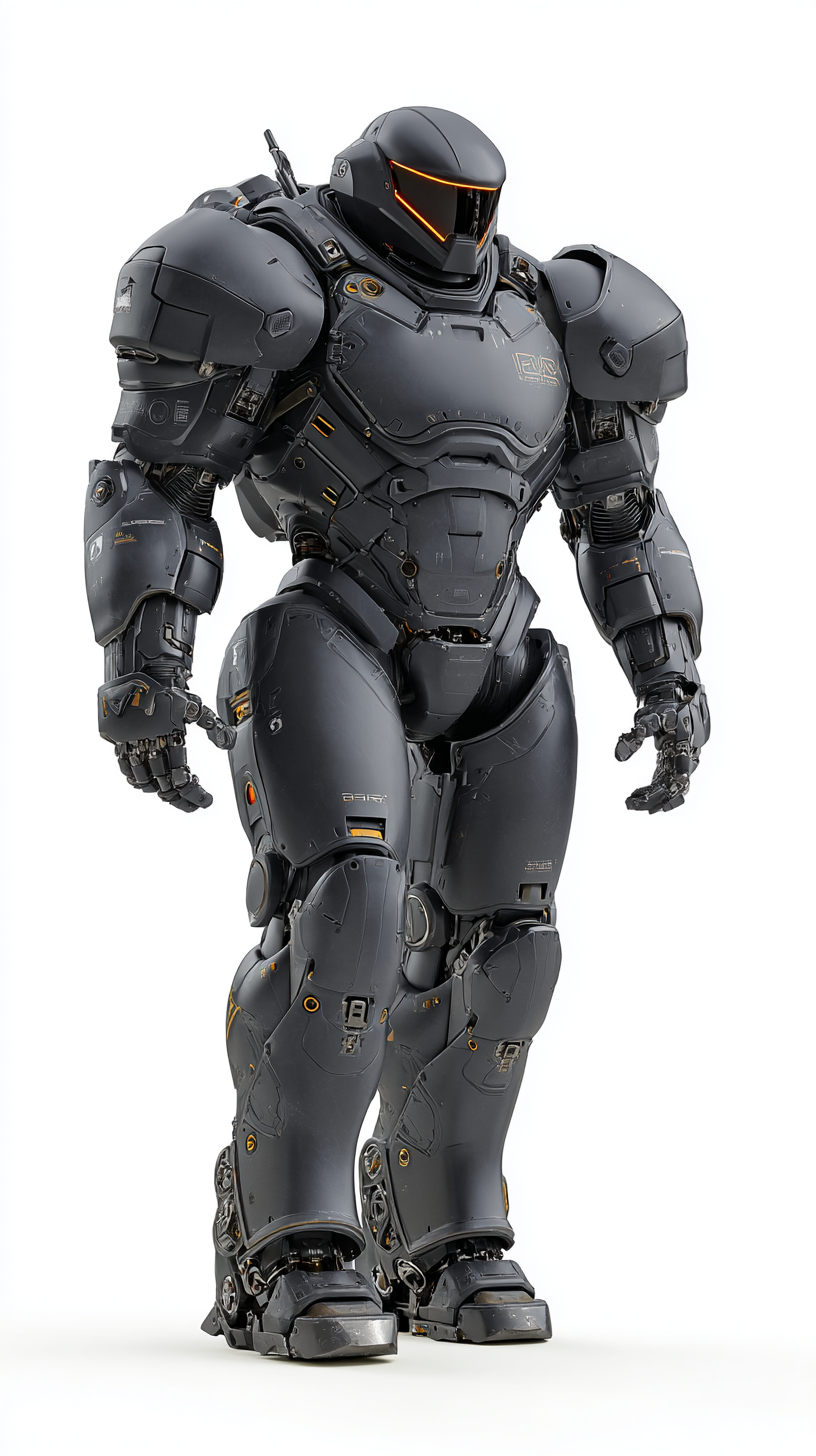
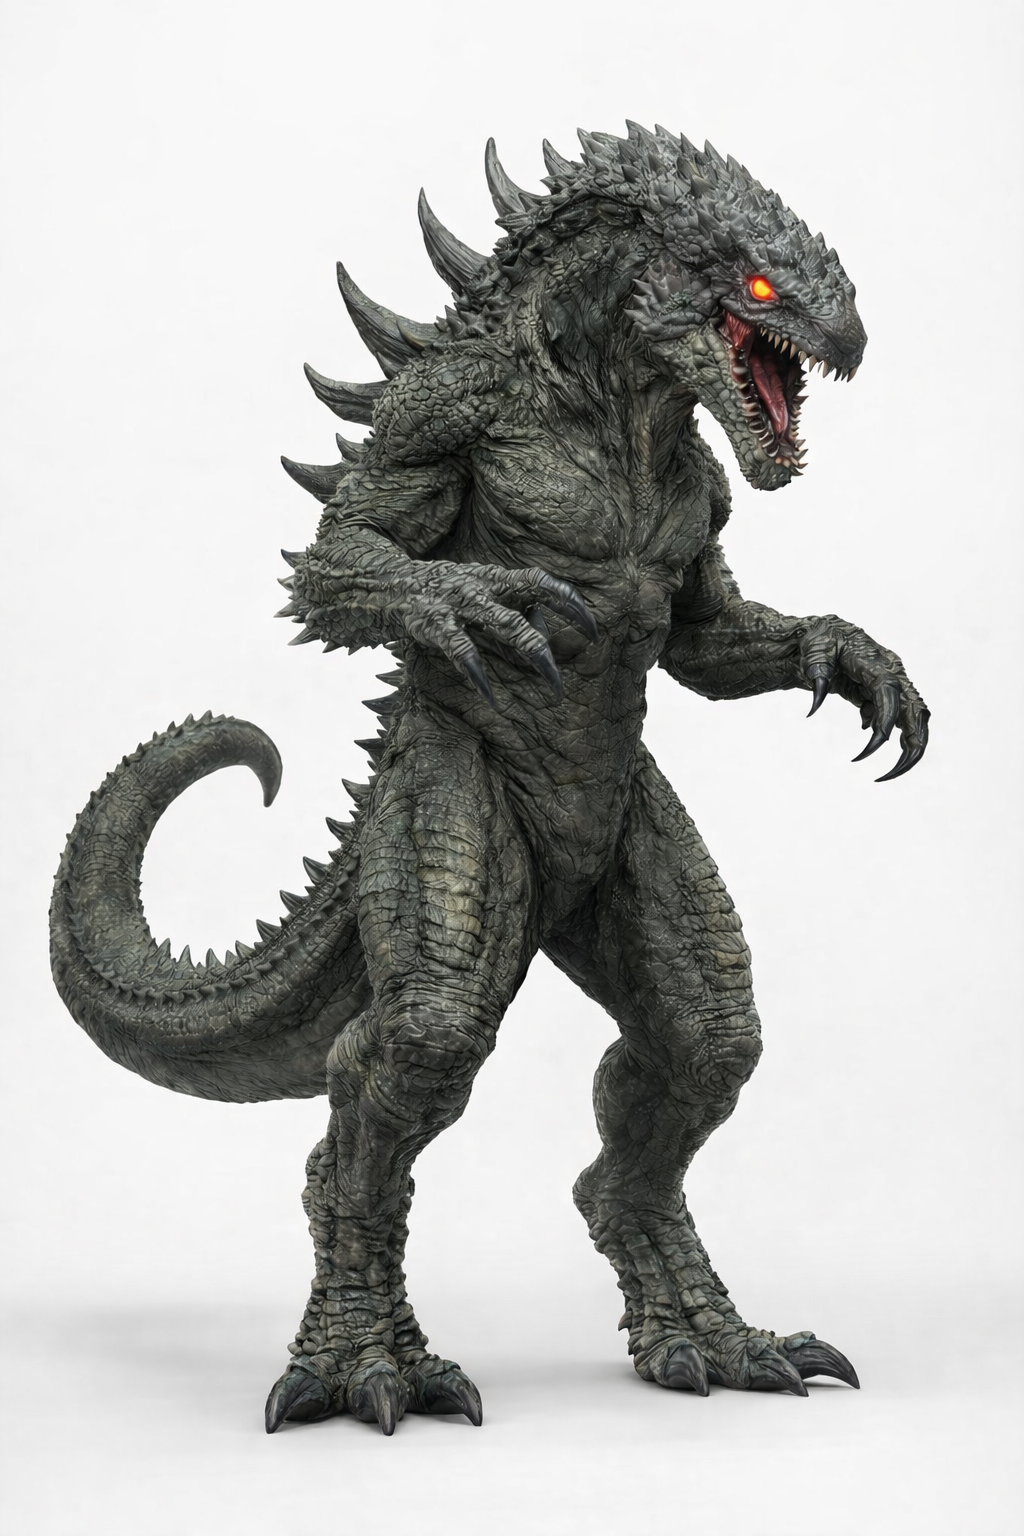
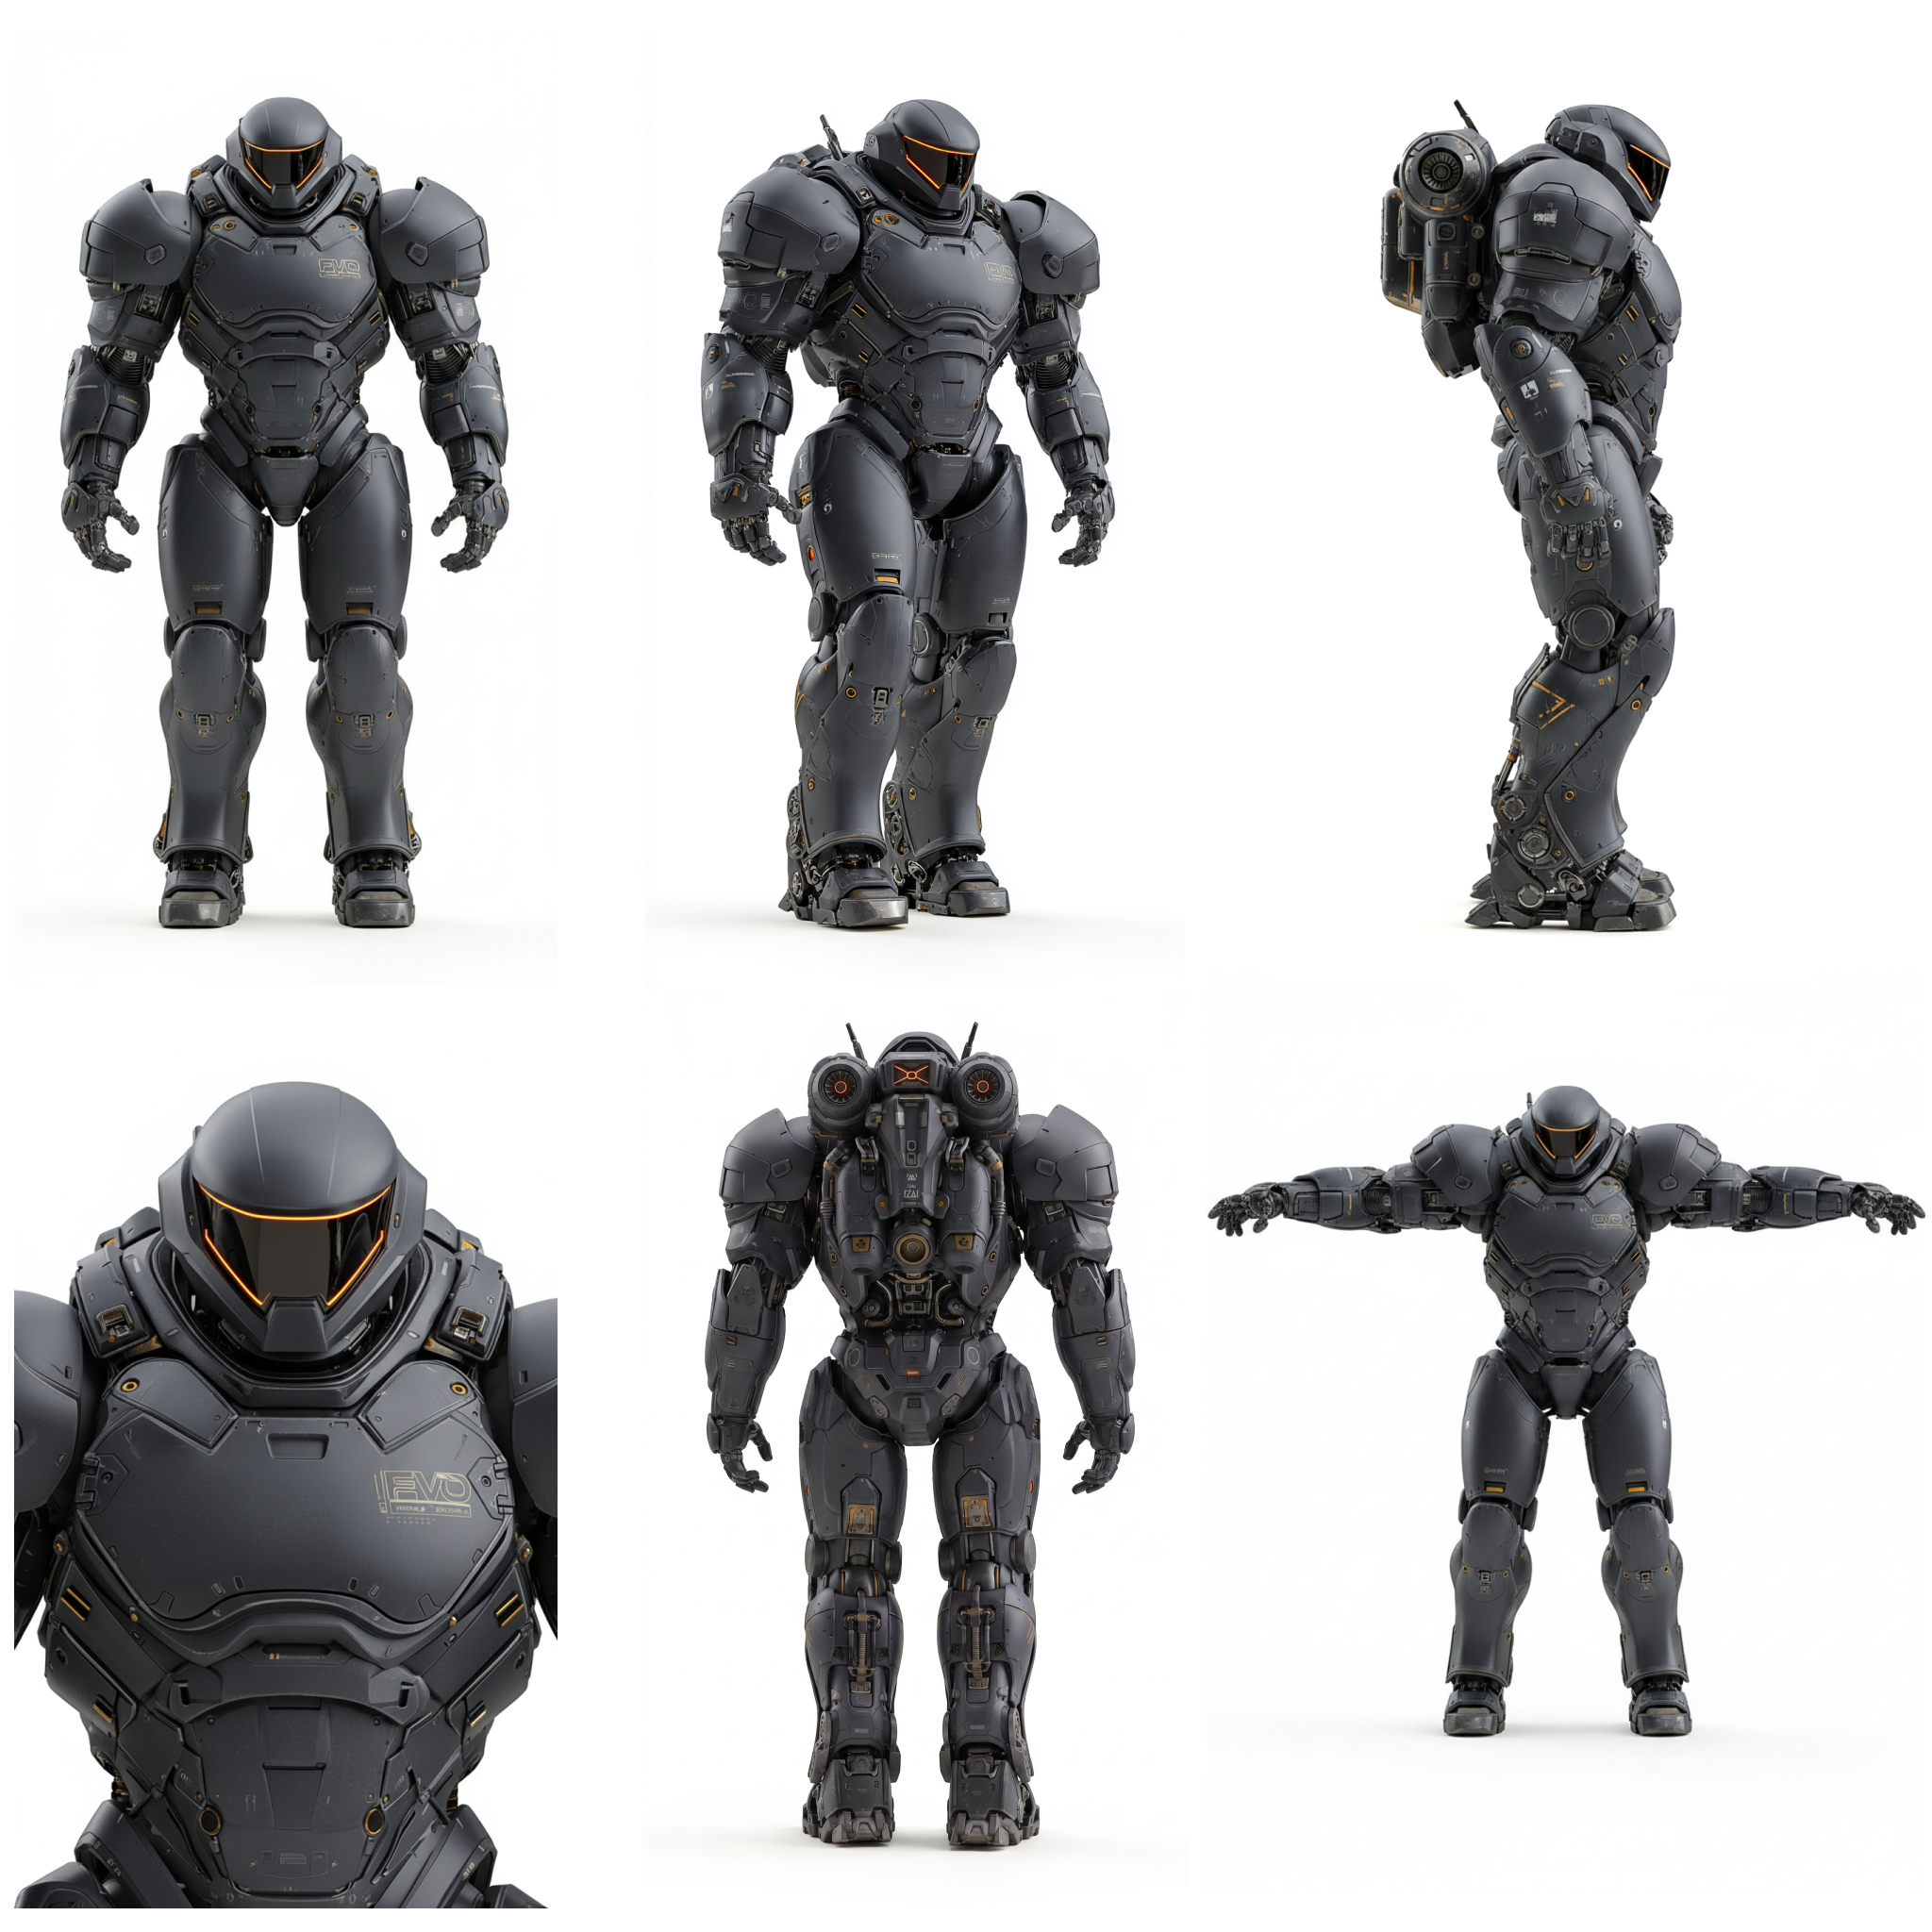
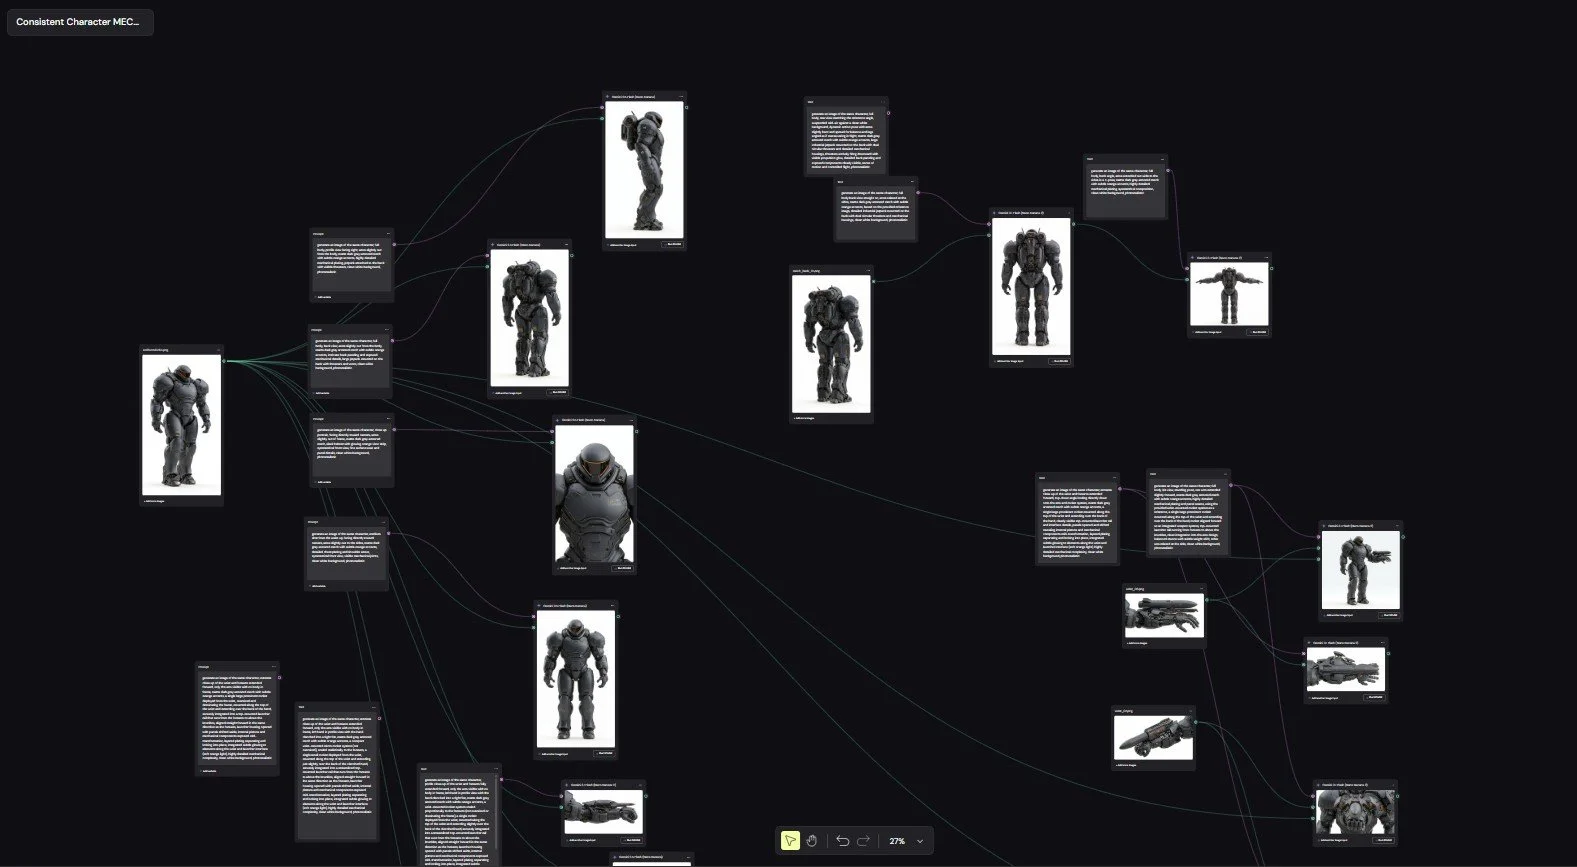
2. Mech Suit + Creature Design
The mech suit and creature were developed in MidJourney through heavy iteration—pushing for:
Mechanical realism (for the suit)
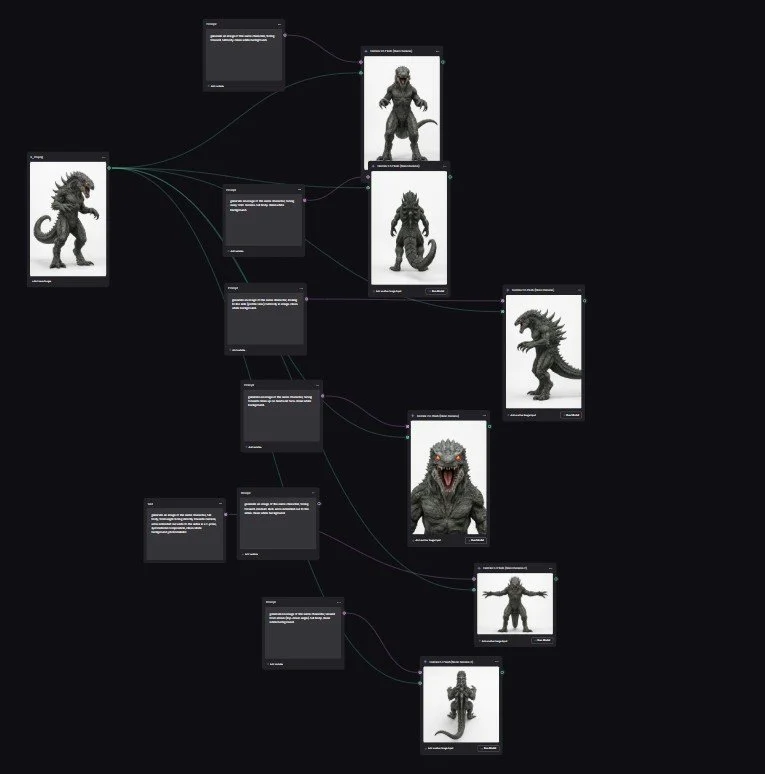
Anatomical weight and texture (for the creature)
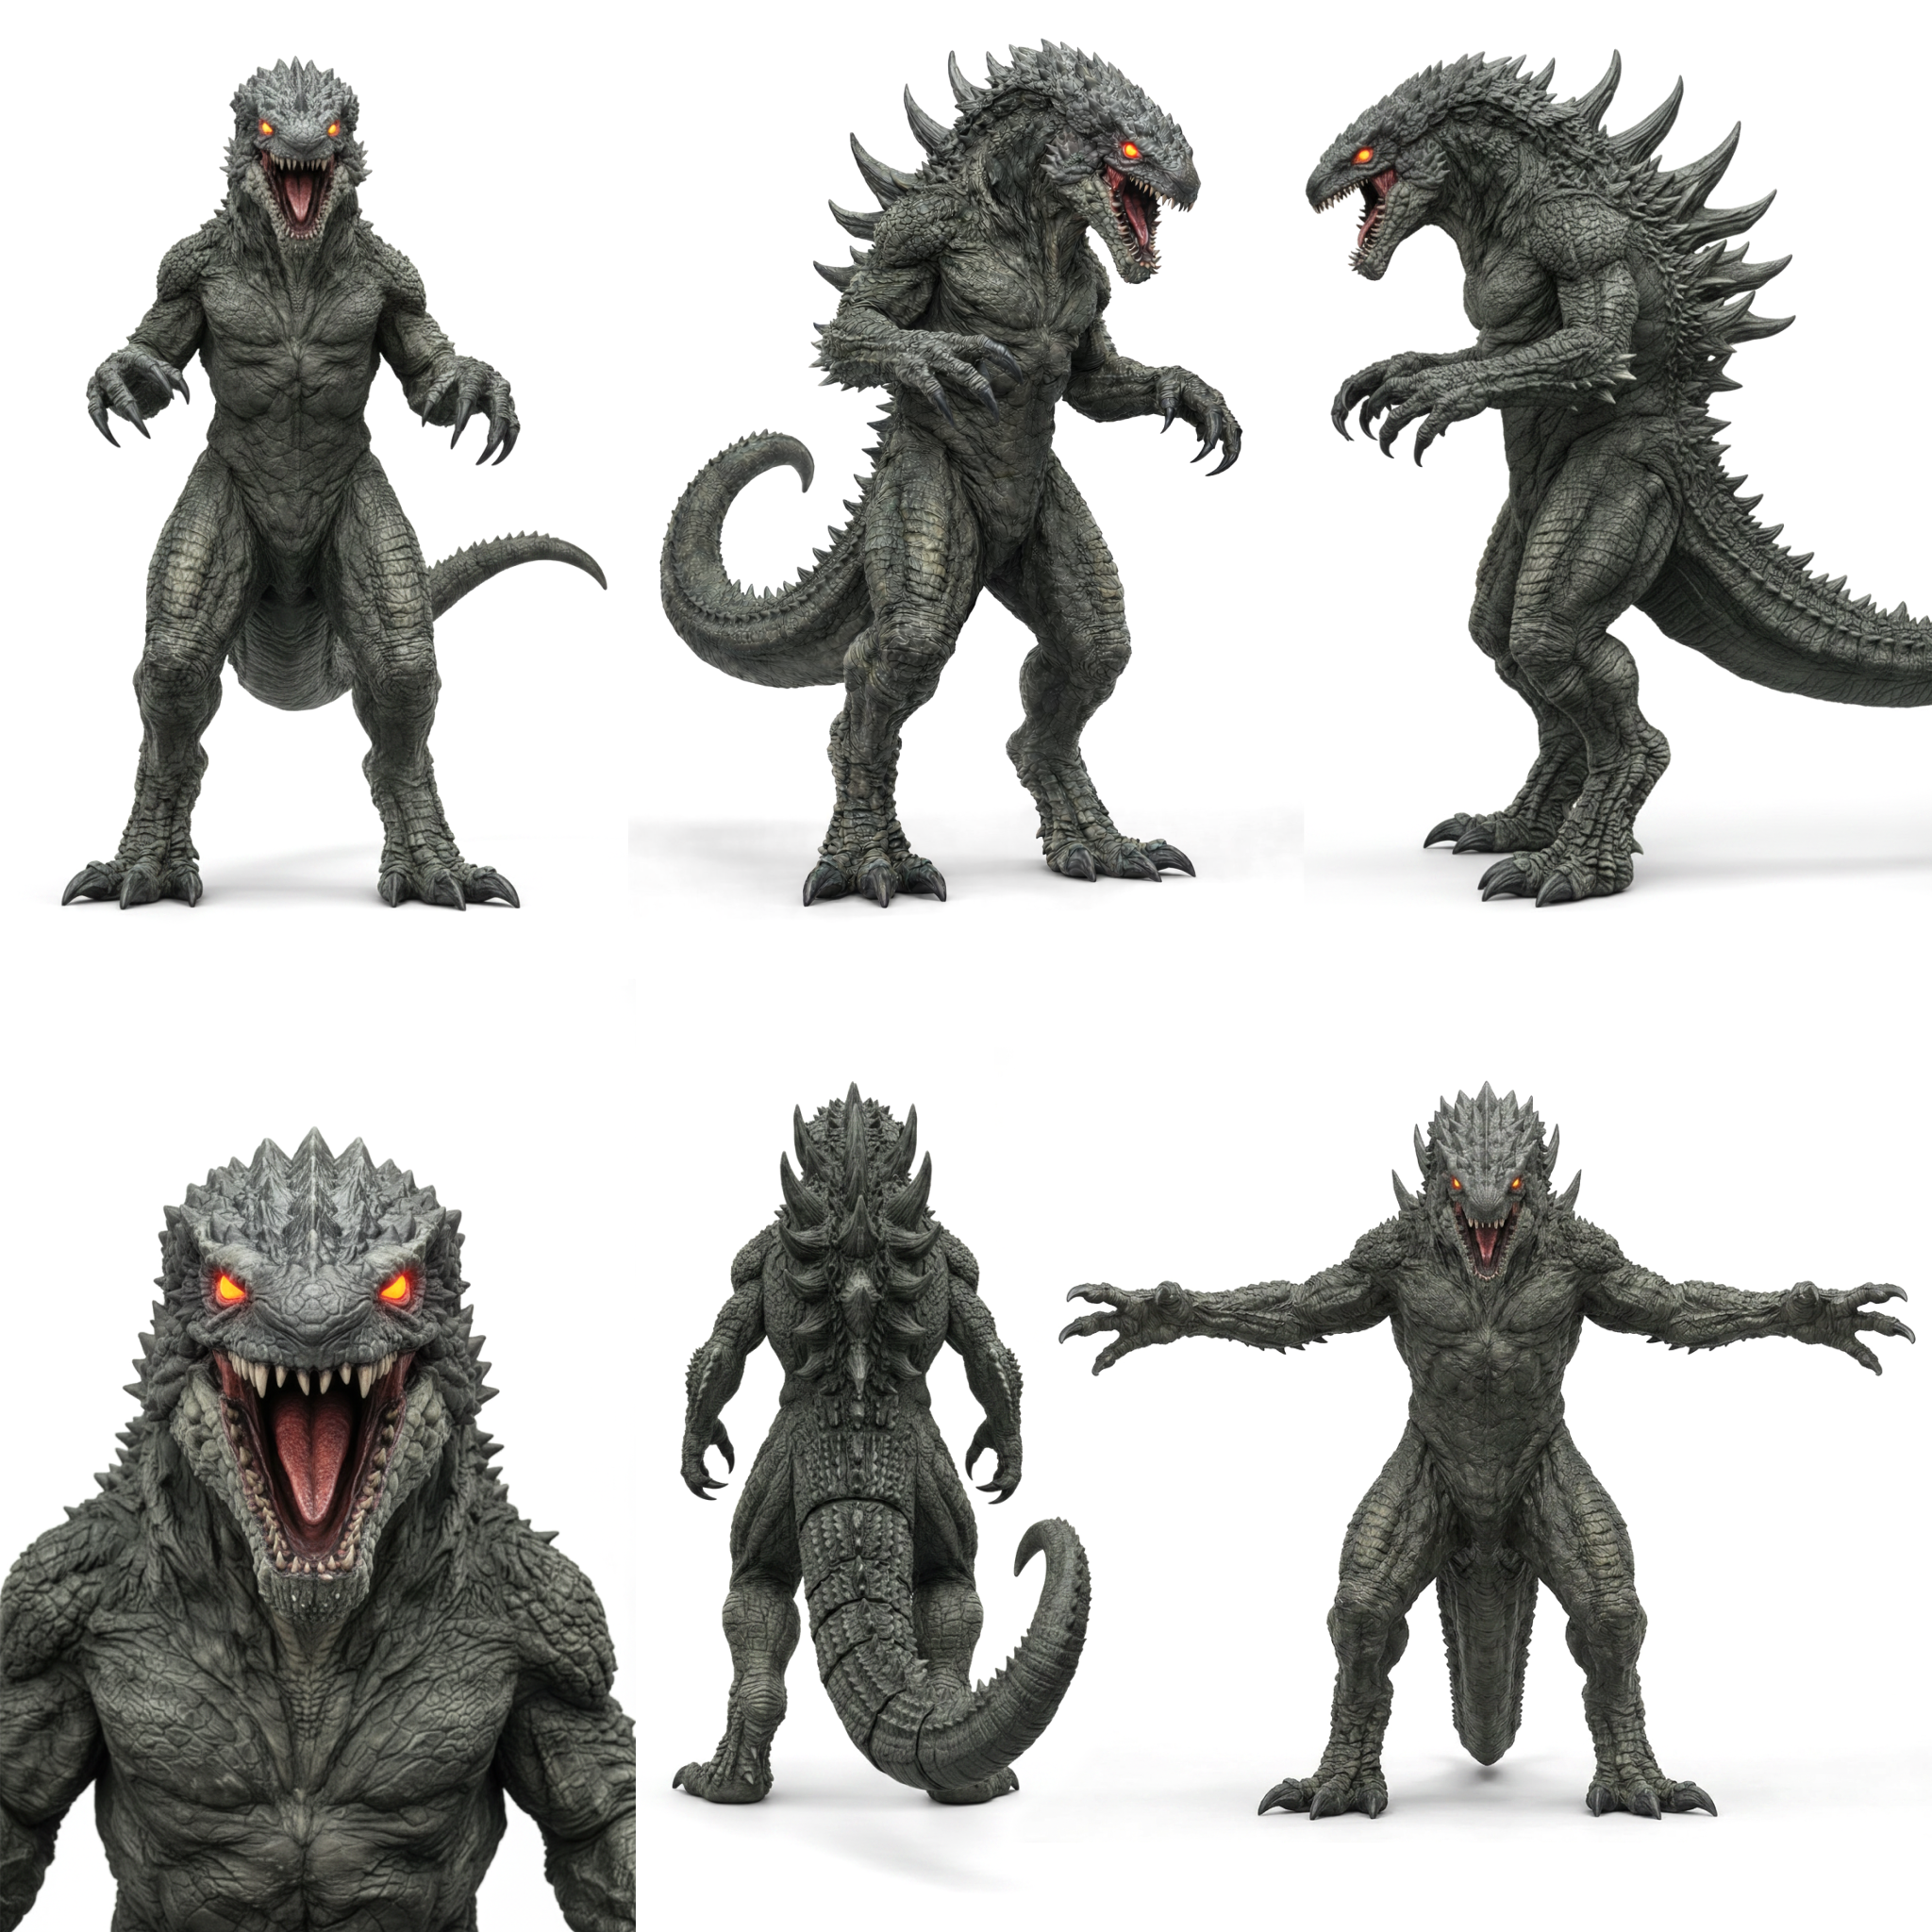
Once I landed on designs I liked, I ran those images through a custom NanoBanana + Weavy to generate:
Multiple angles
Pose variations
Structural consistency
From there, I assembled everything into 2048x2048 character sheets, which became the backbone of the entire pipeline.
These sheets were included in every Seedance 2.0 prompt to maintain:
Design consistency
Proportions
Material detail
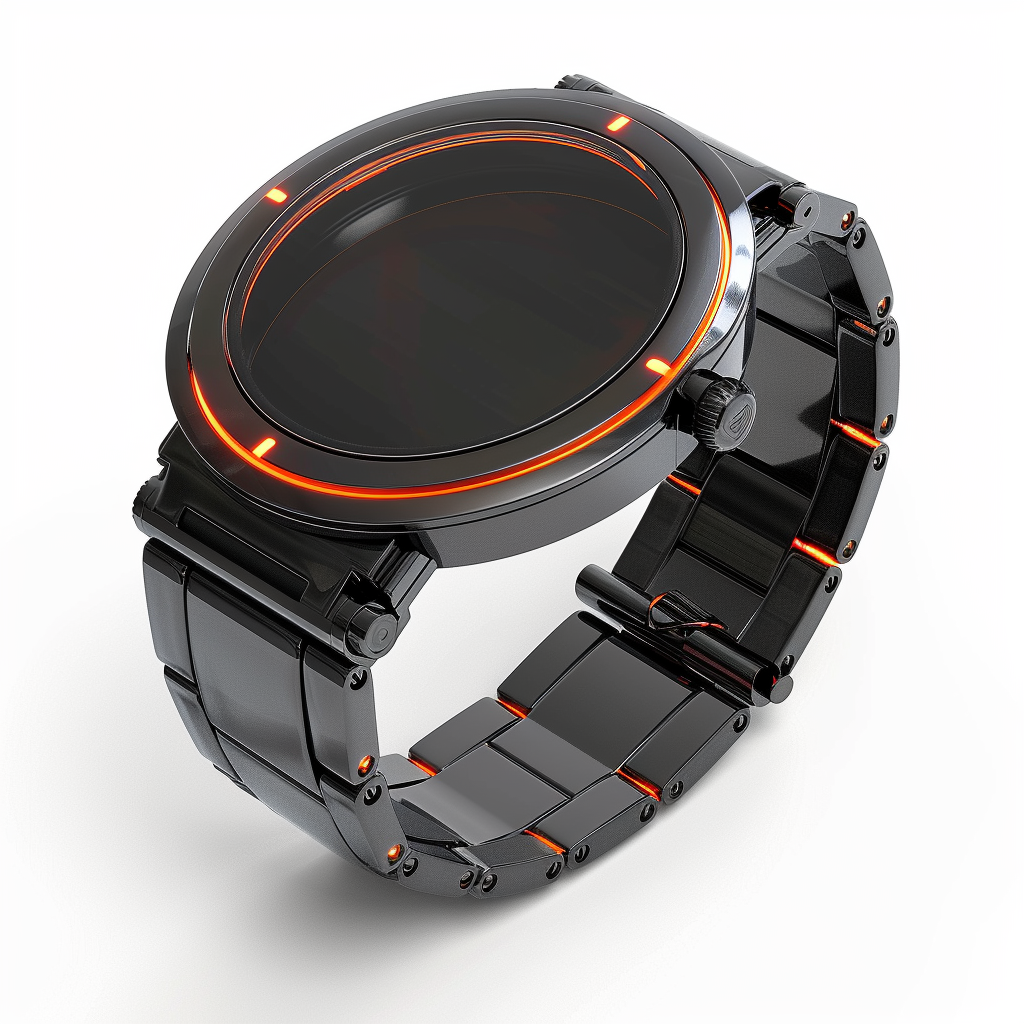
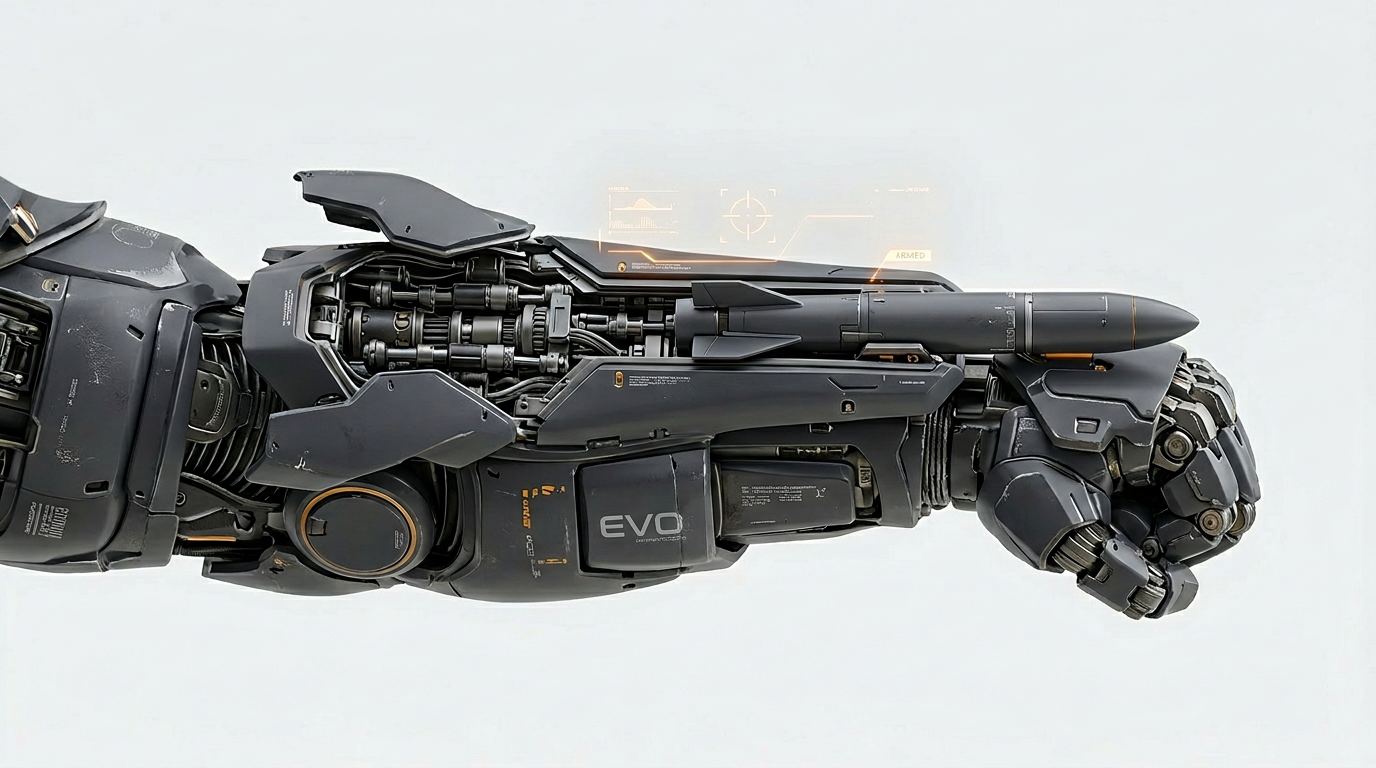
Smaller elements like the watch transformation trigger and wrist-mounted weapon system were treated as their own assets—designed and referenced independently to ensure clarity during close-ups.
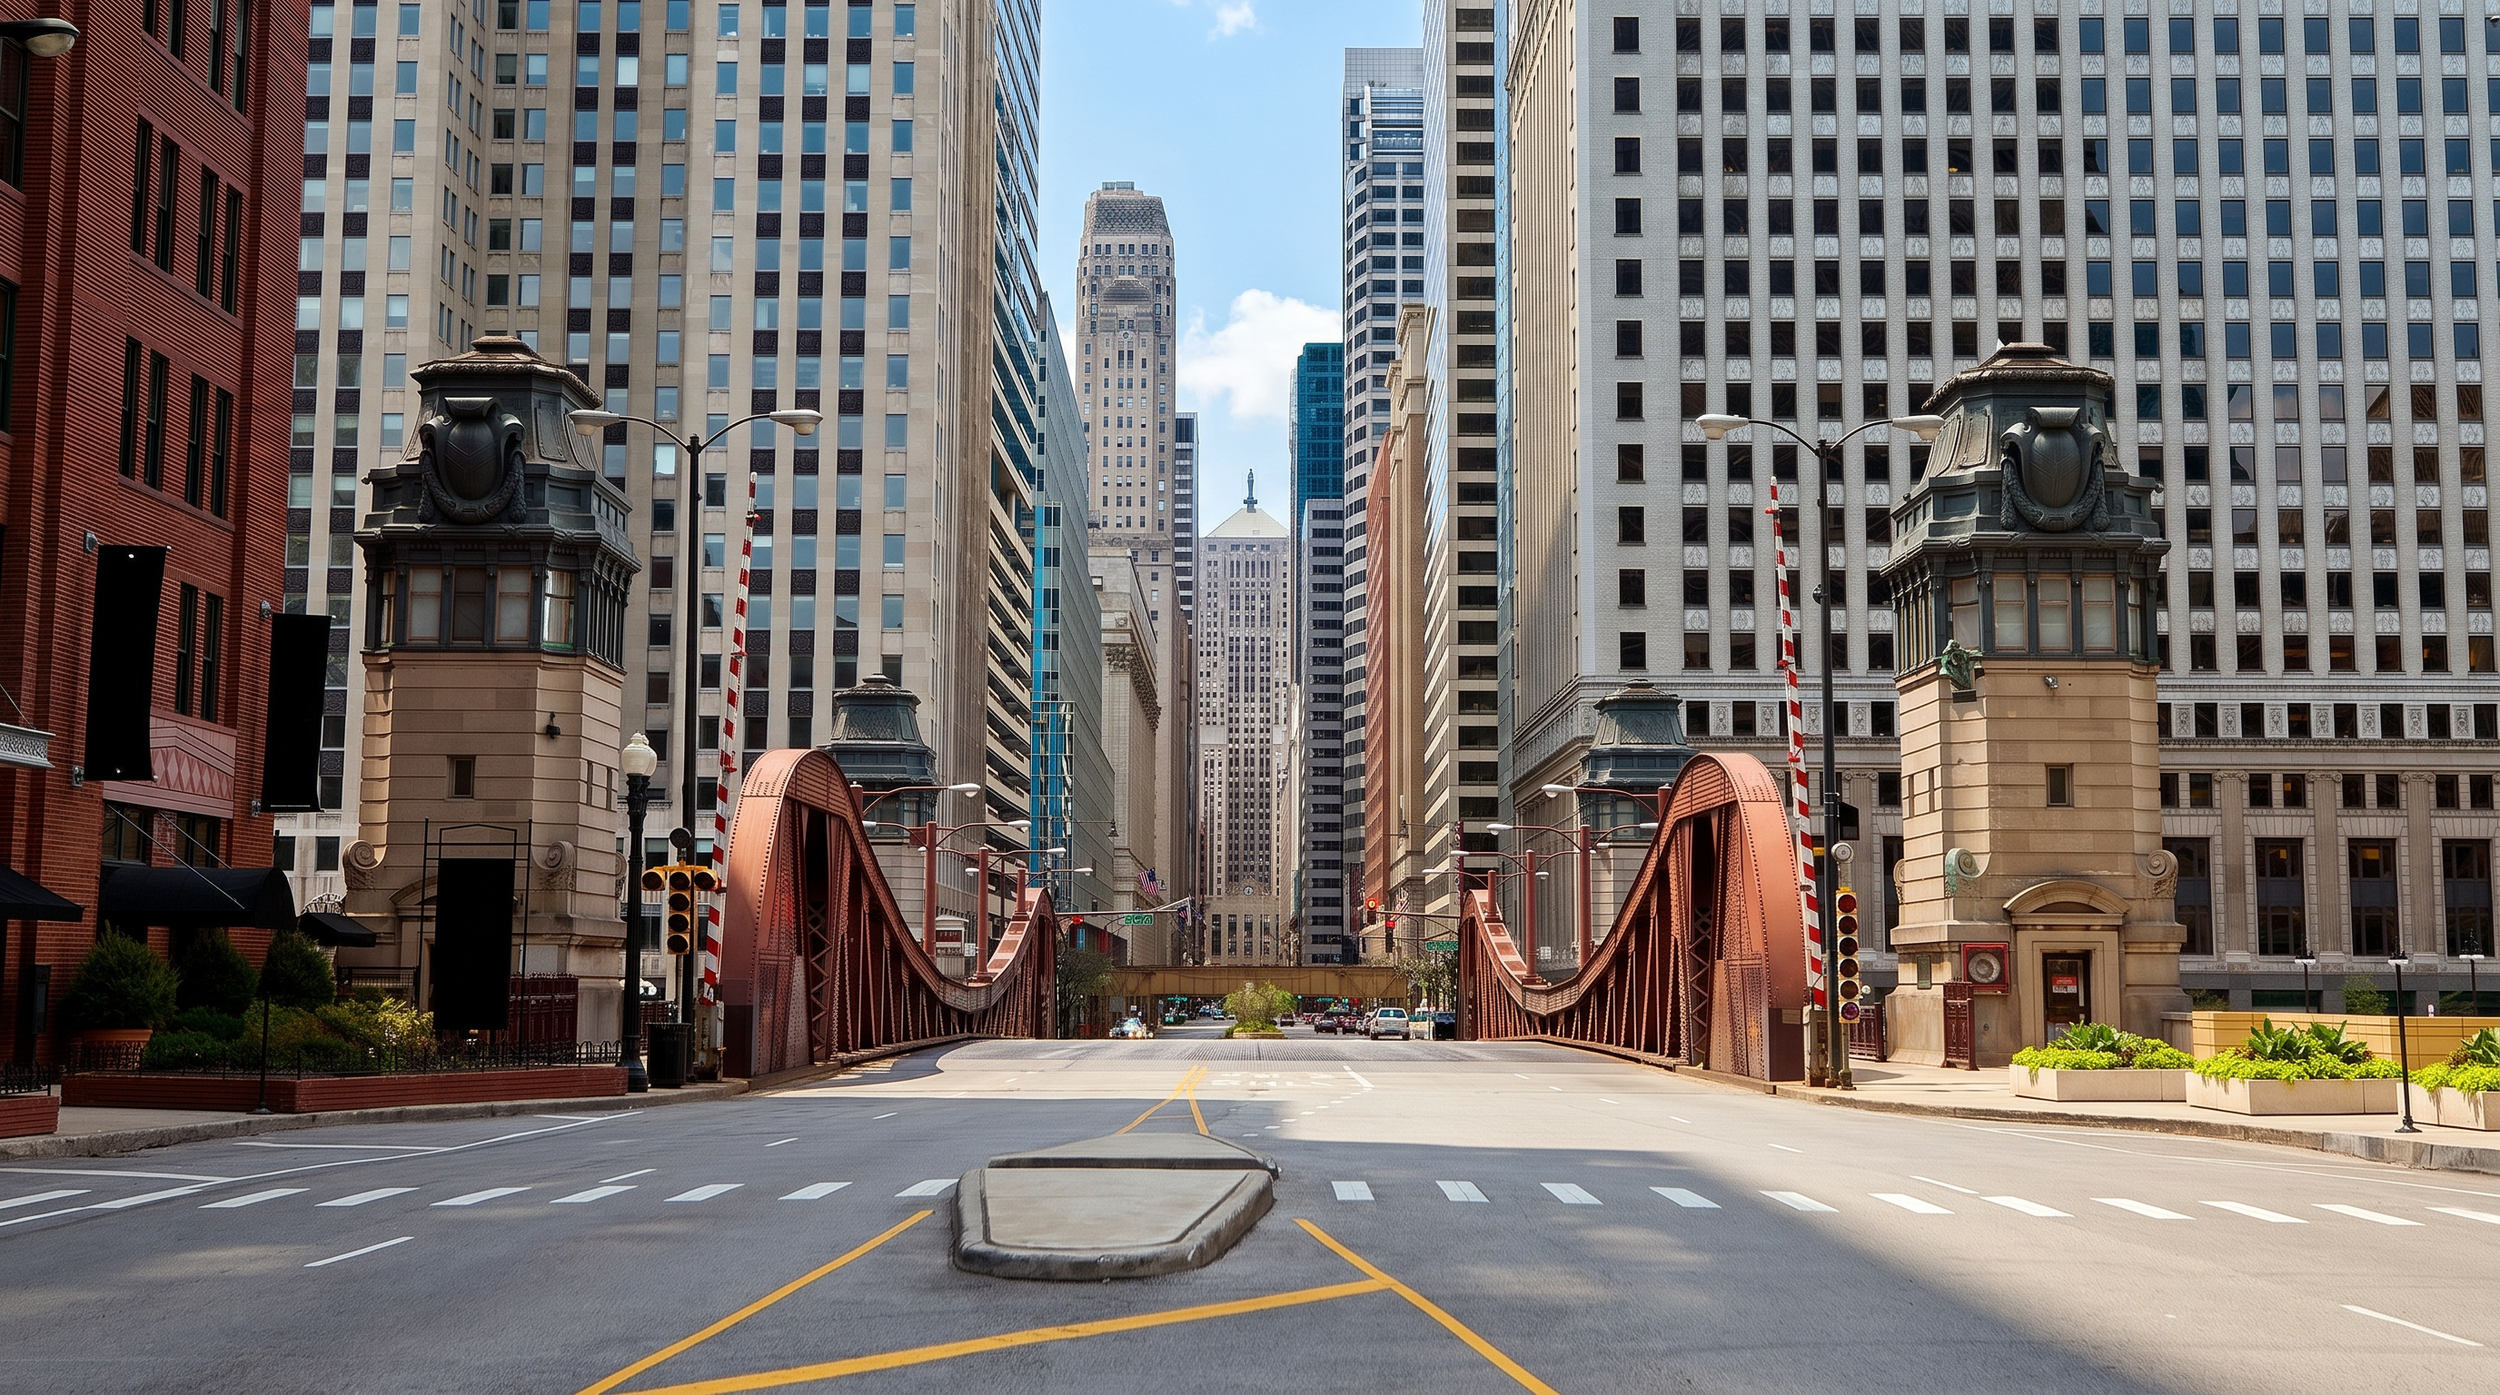
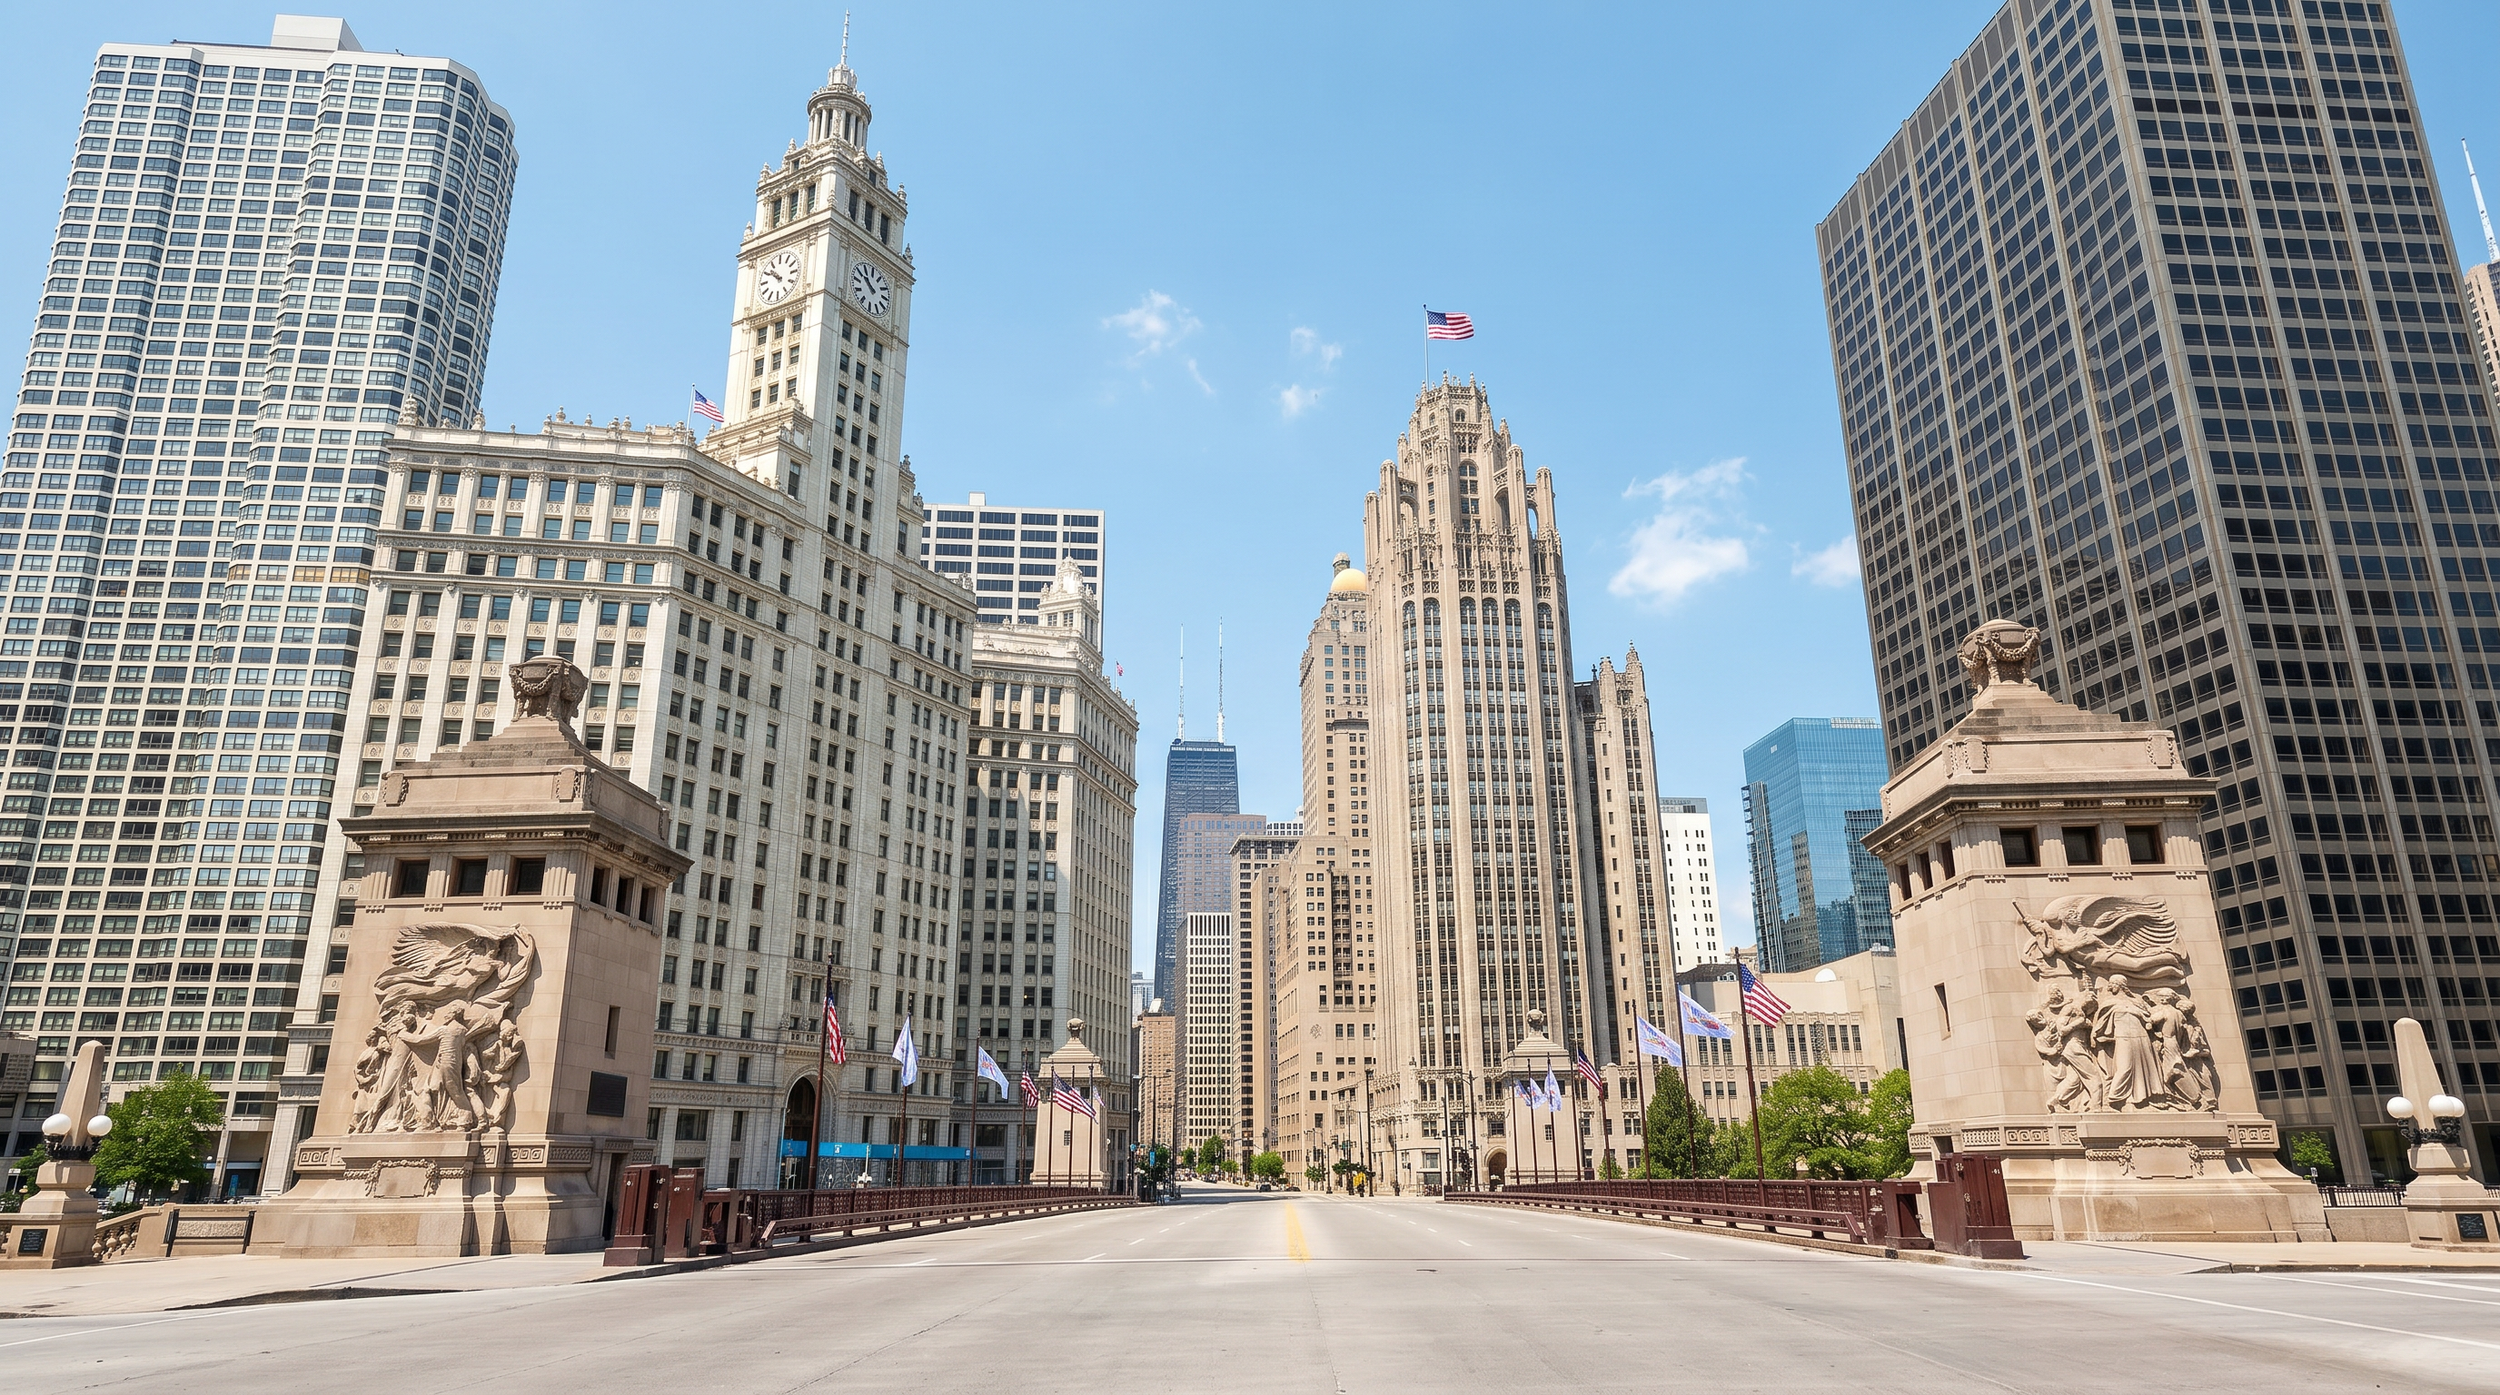
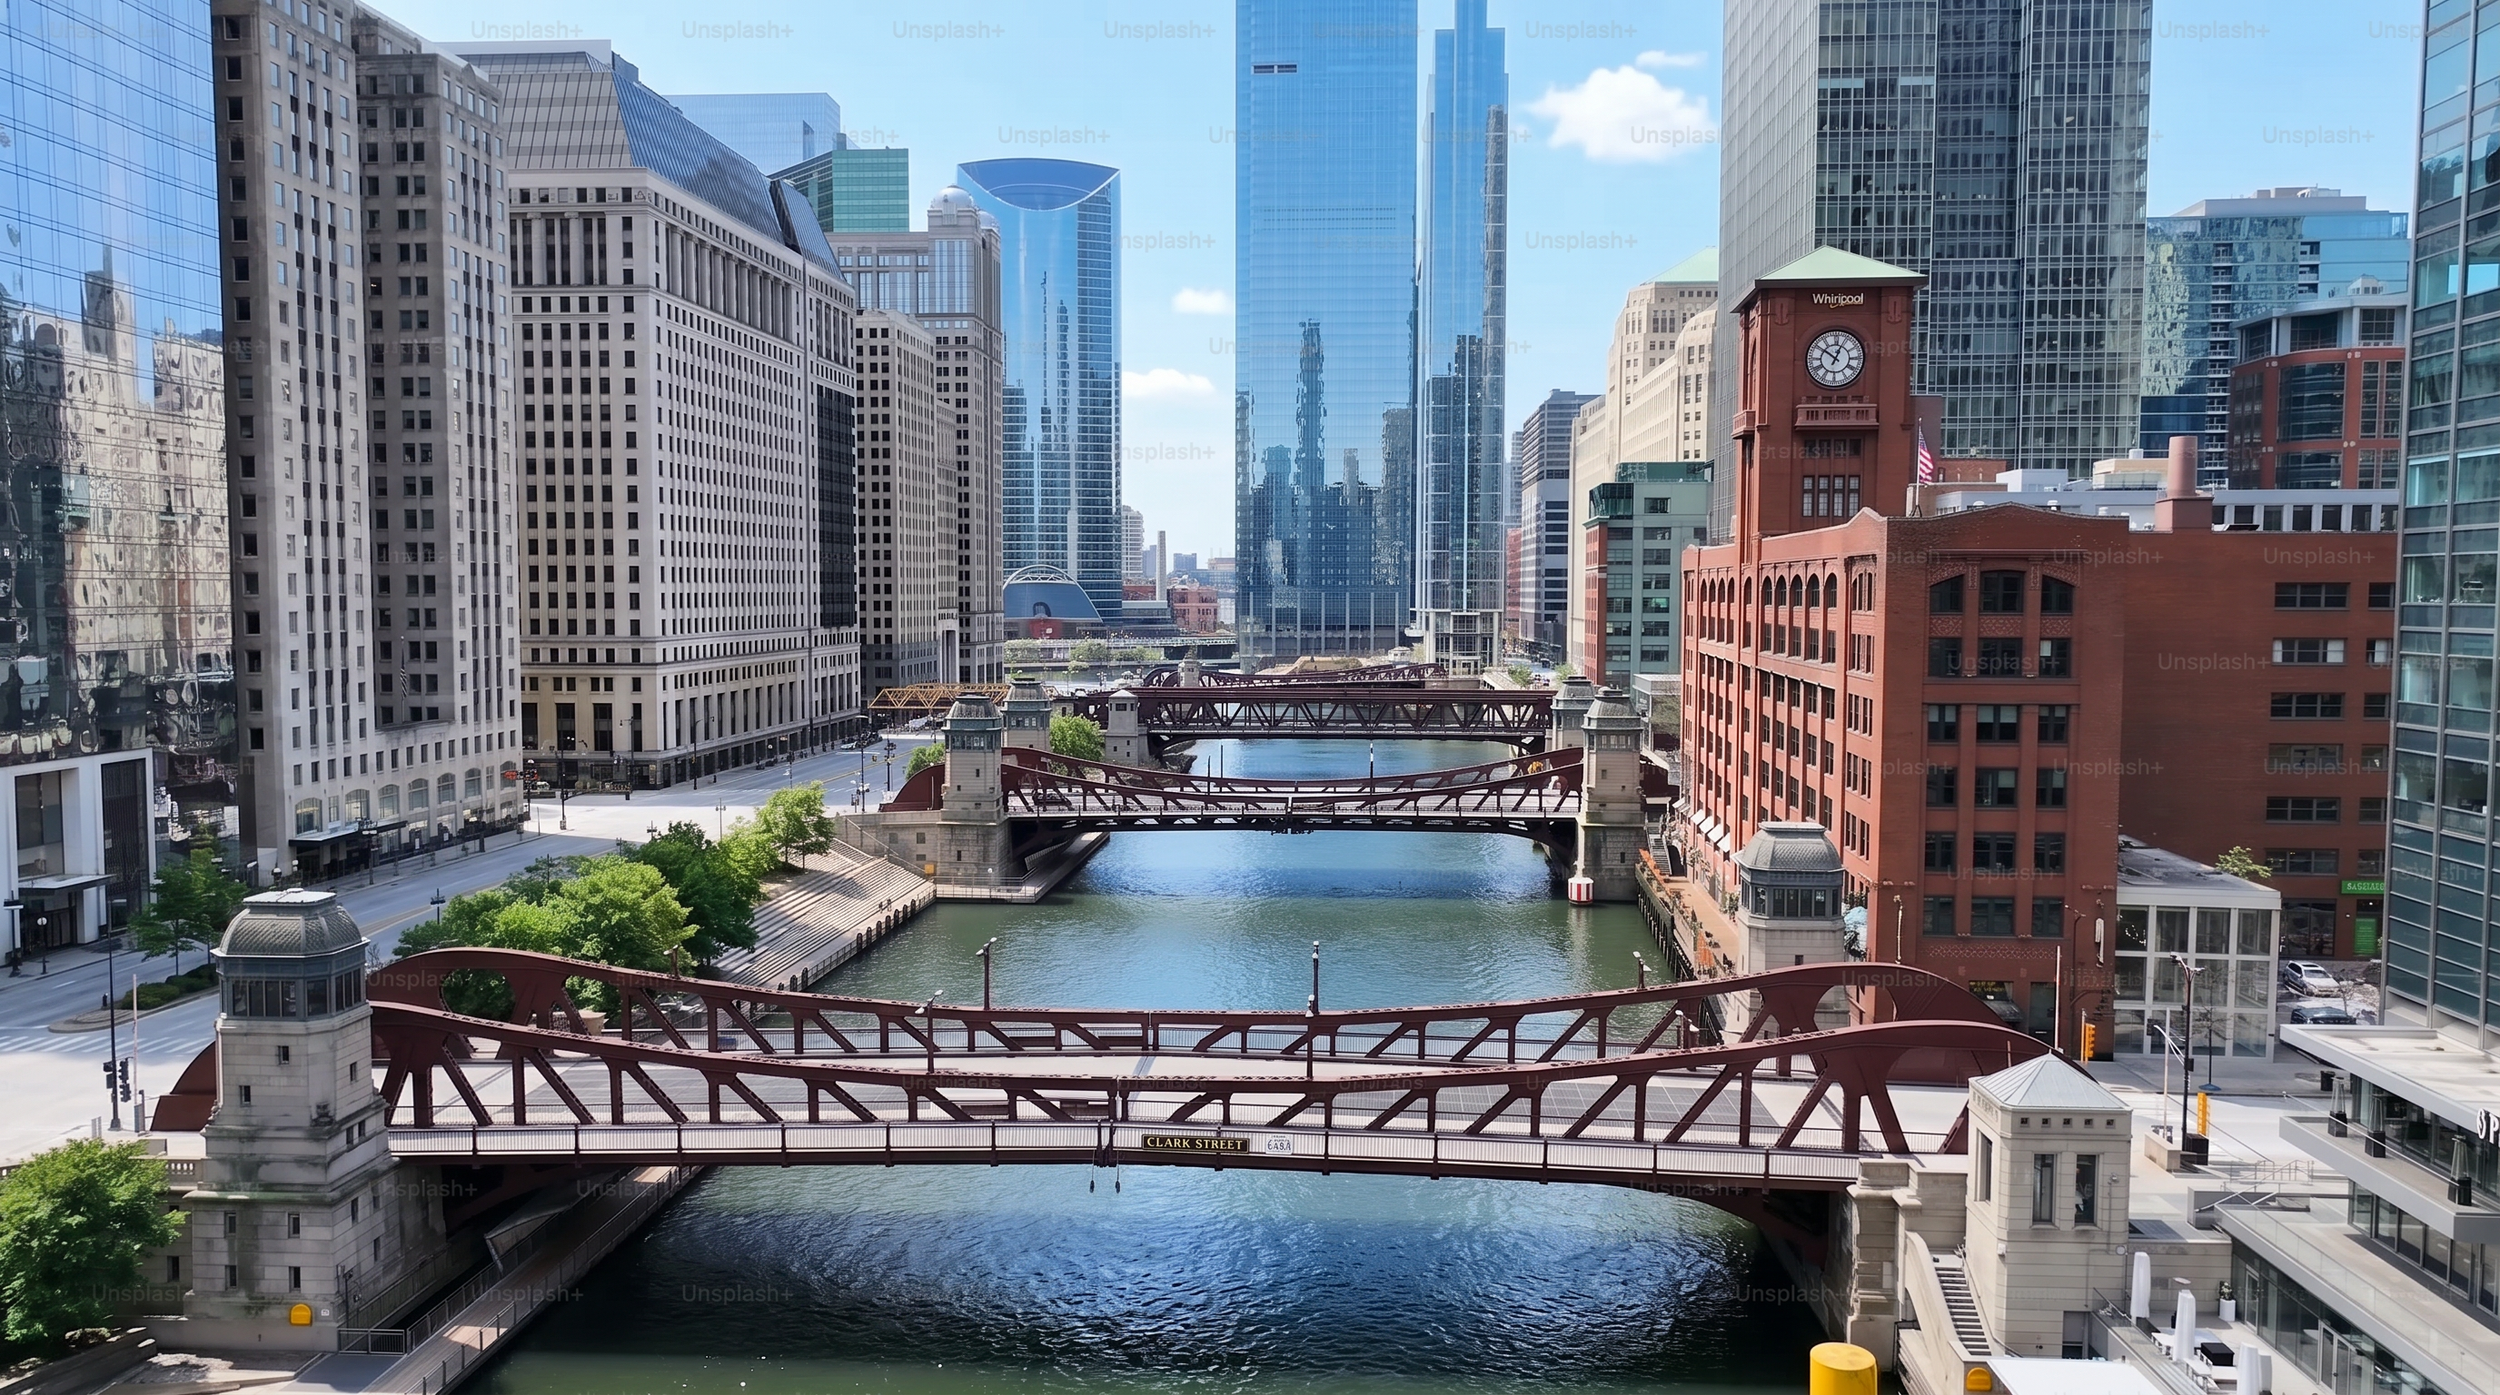
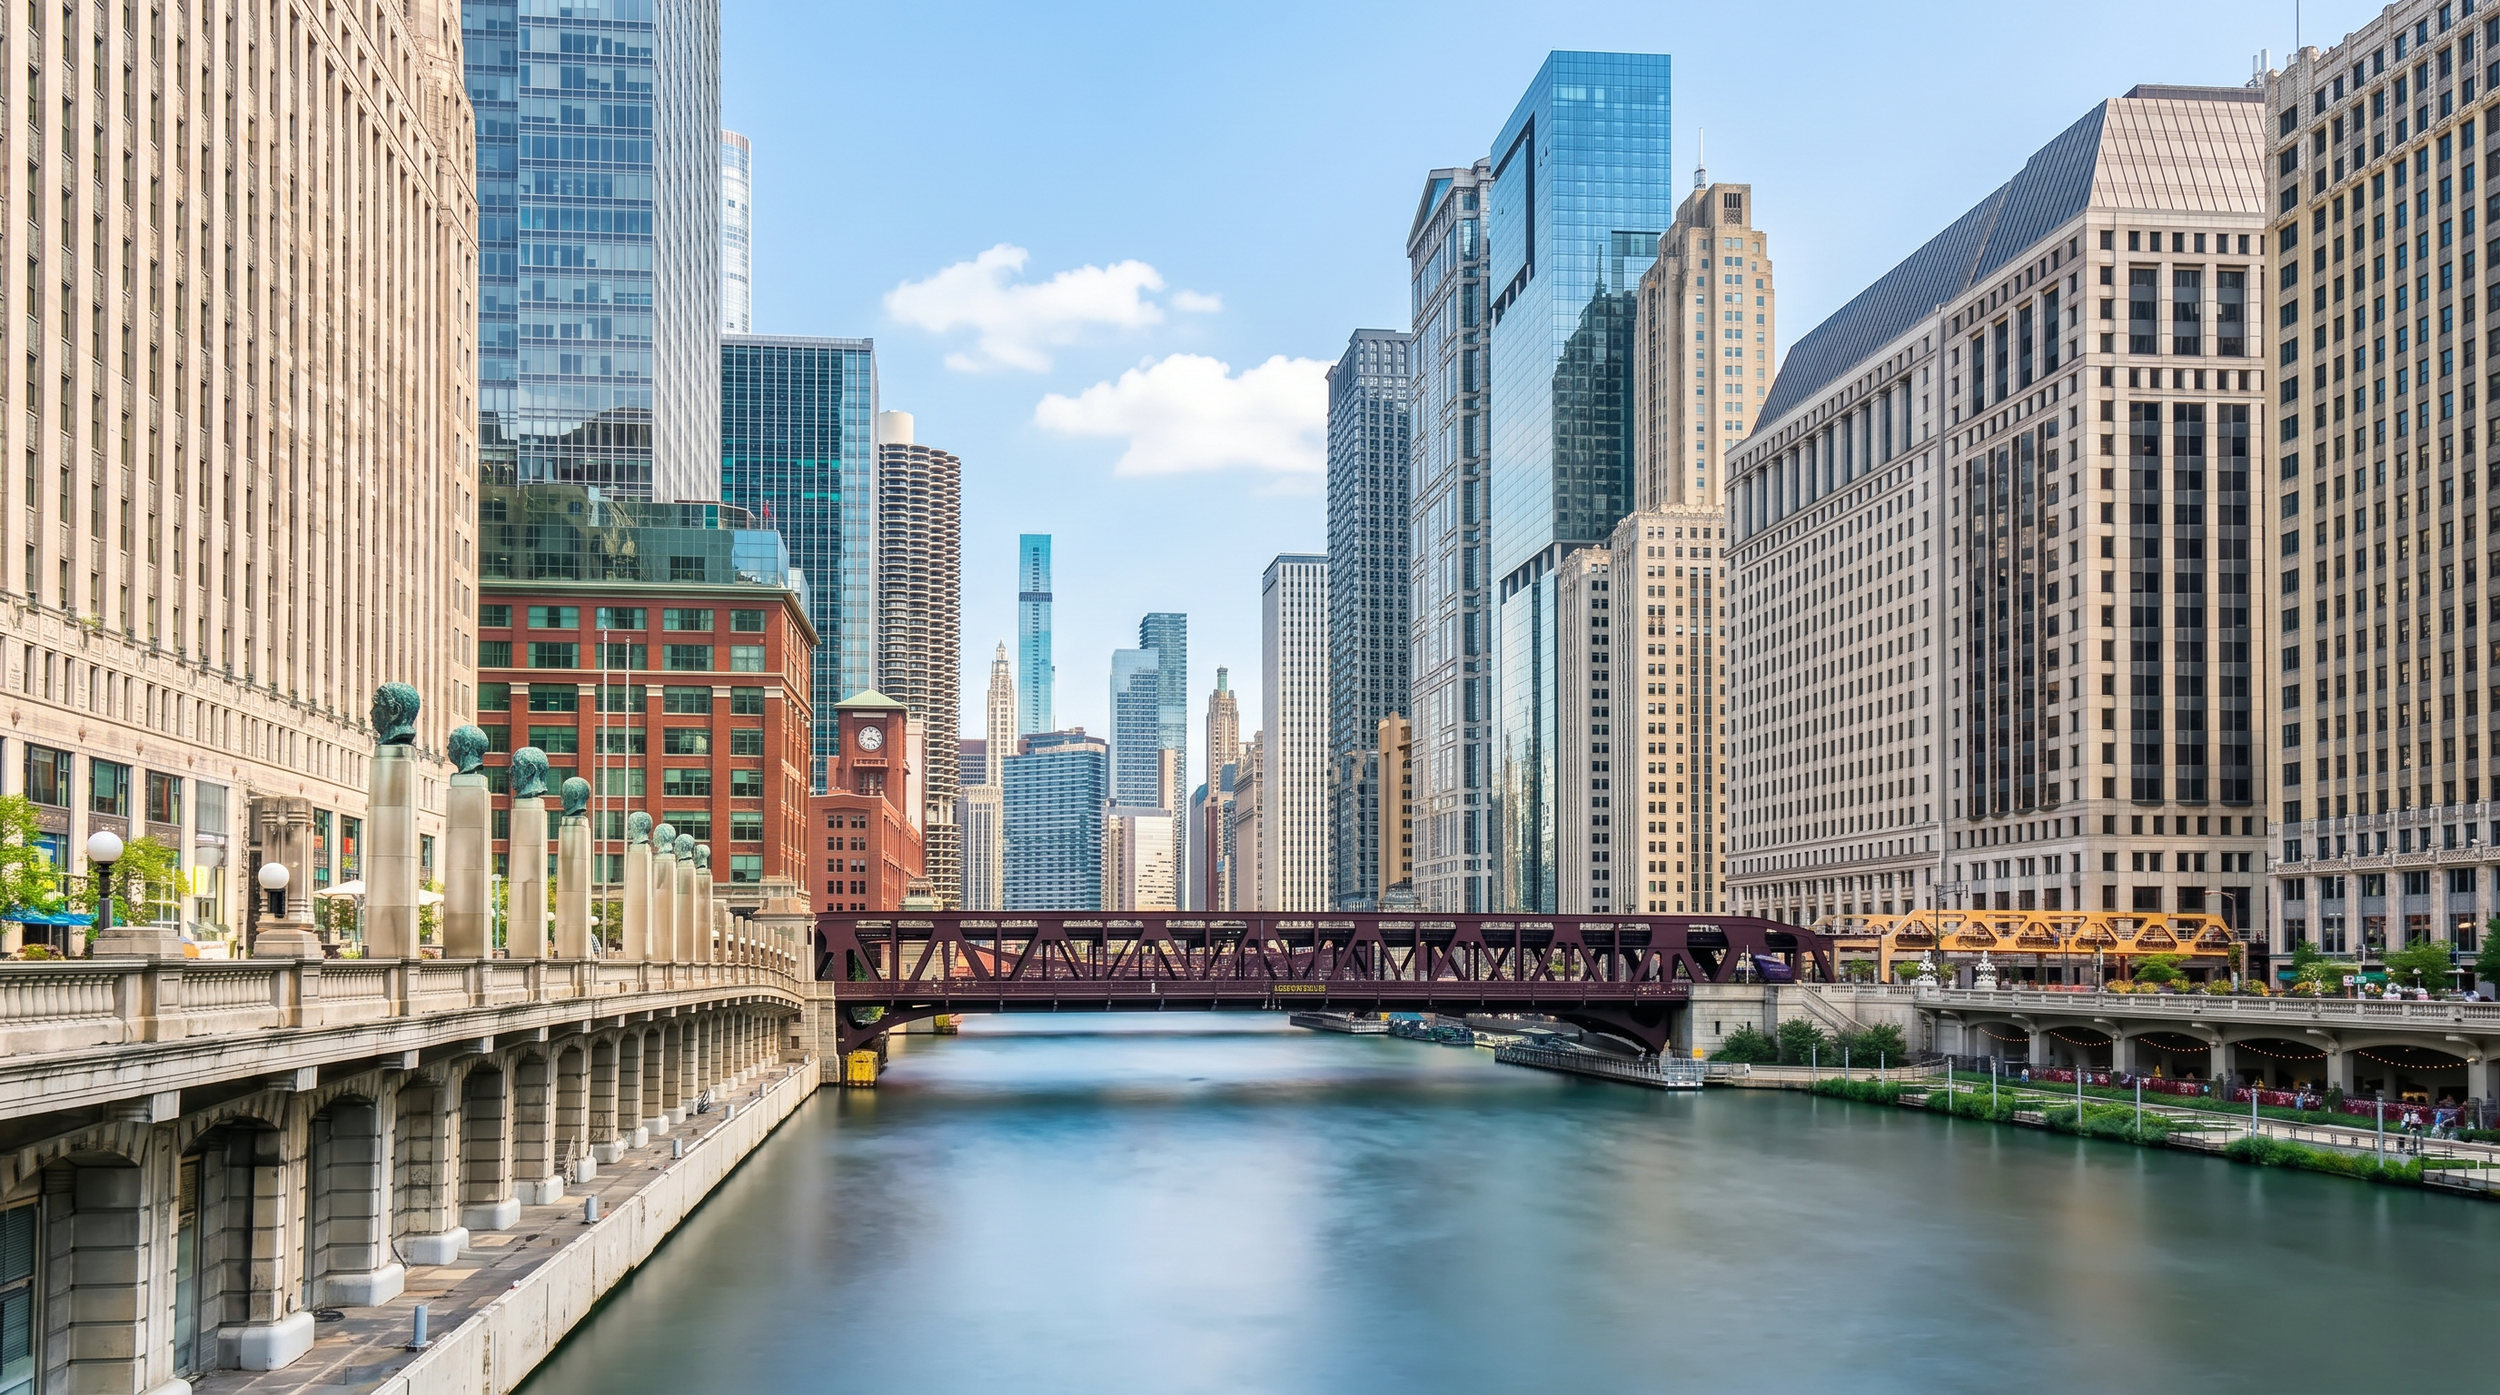
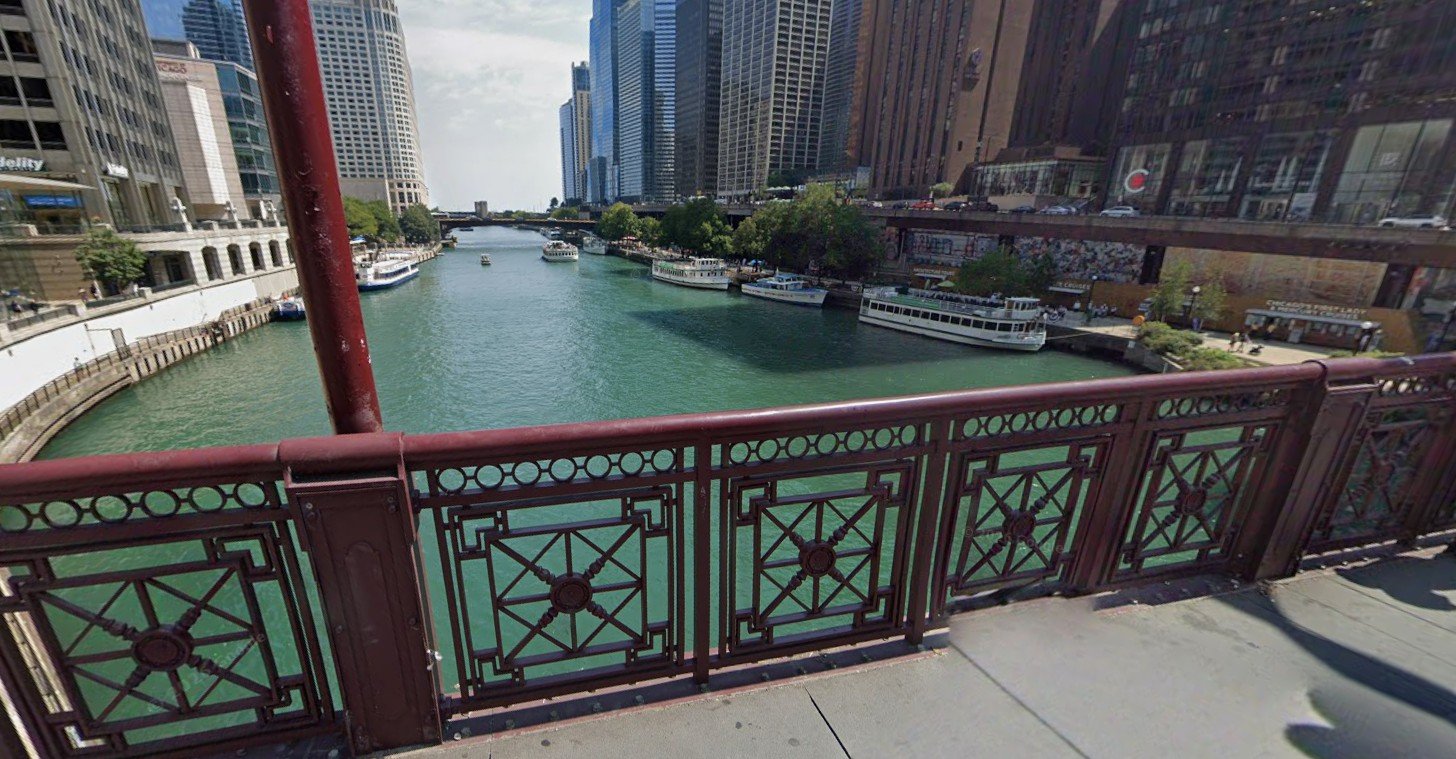
Environment Creation (Chicago as a 3D Backlot)
Instead of relying on purely generated environments, I used Google Earth as a base.
The approach:
Navigate to specific locations in downtown Chicago
Frame exact camera angles for each shot
Capture perspective-based images
Then in NanoBanana, I enhanced those images using:
High-end architectural photography references
Clean lighting and material refinement
The result was a workflow where I could effectively place a virtual camera anywhere in the city and generate a cinematic-quality plate.
Animation & Shot Generation
Shot generation was handled across a combination of Seedance 2.0, Veo3, and Kling, depending on what each moment required.
Seedance 2.0 was the primary tool for structured, cinematic shots where I needed tighter control over:
Camera movement
Character consistency
Framing and staging
Veo3 was mainly used as an iterative tool—when I needed to explore ideas through rapid trial and error. It allowed me to generate many variations quickly, helping dial in:
Motion ideas
Timing
General shot direction before refining elsewhere
Kling was used in select cases where it handled motion or temporal coherence better for certain types of movement.
Across all tools, I maintained consistency by:
Feeding in the same character sheets
Using environment references as anchors
Structuring prompts more like shot direction than simple descriptions
This process was less about “prompting” and more about direction—starting with a clear vision for each shot, then executing it using a combination of carefully chosen references.
Upscaling & Motion Refinement
Once the sequence was assembled:
Topaz Video AI
Upscaled footage (720 → 1080)
Reduced temporal artifacts / “choppiness”
Improved motion interpolation
Nuke (Final Polish)
Final compositing and polish were handled in Nuke, where I brought everything together and refined the sequence:
Color correction
Time remapping for pacing
For the final hit, I needed a clean projectile element. Instead of sourcing stock footage, I generated a custom missile element in Veo on a green screen. This gave me full control over:
Angle and perspective
Motion characteristics
Lighting consistency
I then:
Keyed the element in Nuke
Integrated it into the shot of the creature
Matched lighting, motion blur, and scale
Blended the impact so it felt physically grounded in the scene
This step helped sell the final moment—tying together the generated character, environment, and action into a cohesive shot.

Final Thoughts
This project wasn’t about a single tool—it was about building a pipeline where each tool handled a specific role:
FLUX LoRa + ComfyUI → Identity & performance
MidJourney + NanoBanana → Design & consistency
Google Earth + NanoBanana → Real-world environments
Seedance 2.0 → Shot creation
Topaz + Nuke → Final polish